Radiant Diamonds Quilt Pattern

Materials
- Fabric: Cotton fabric in four bright colors (e.g., yellow, blue, red, green) plus a neutral background color (e.g., white or gray).
- Batting: Standard quilt batting.
- Backing Fabric: A large piece of fabric for the back of the quilt.
- Rotary Cutter, Ruler, and Cutting Mat
- Sewing Machine
- Thread: Coordinating or neutral color.
- Pins or Quilting Clips
- Iron and Ironing Board
Quilt Design Overview
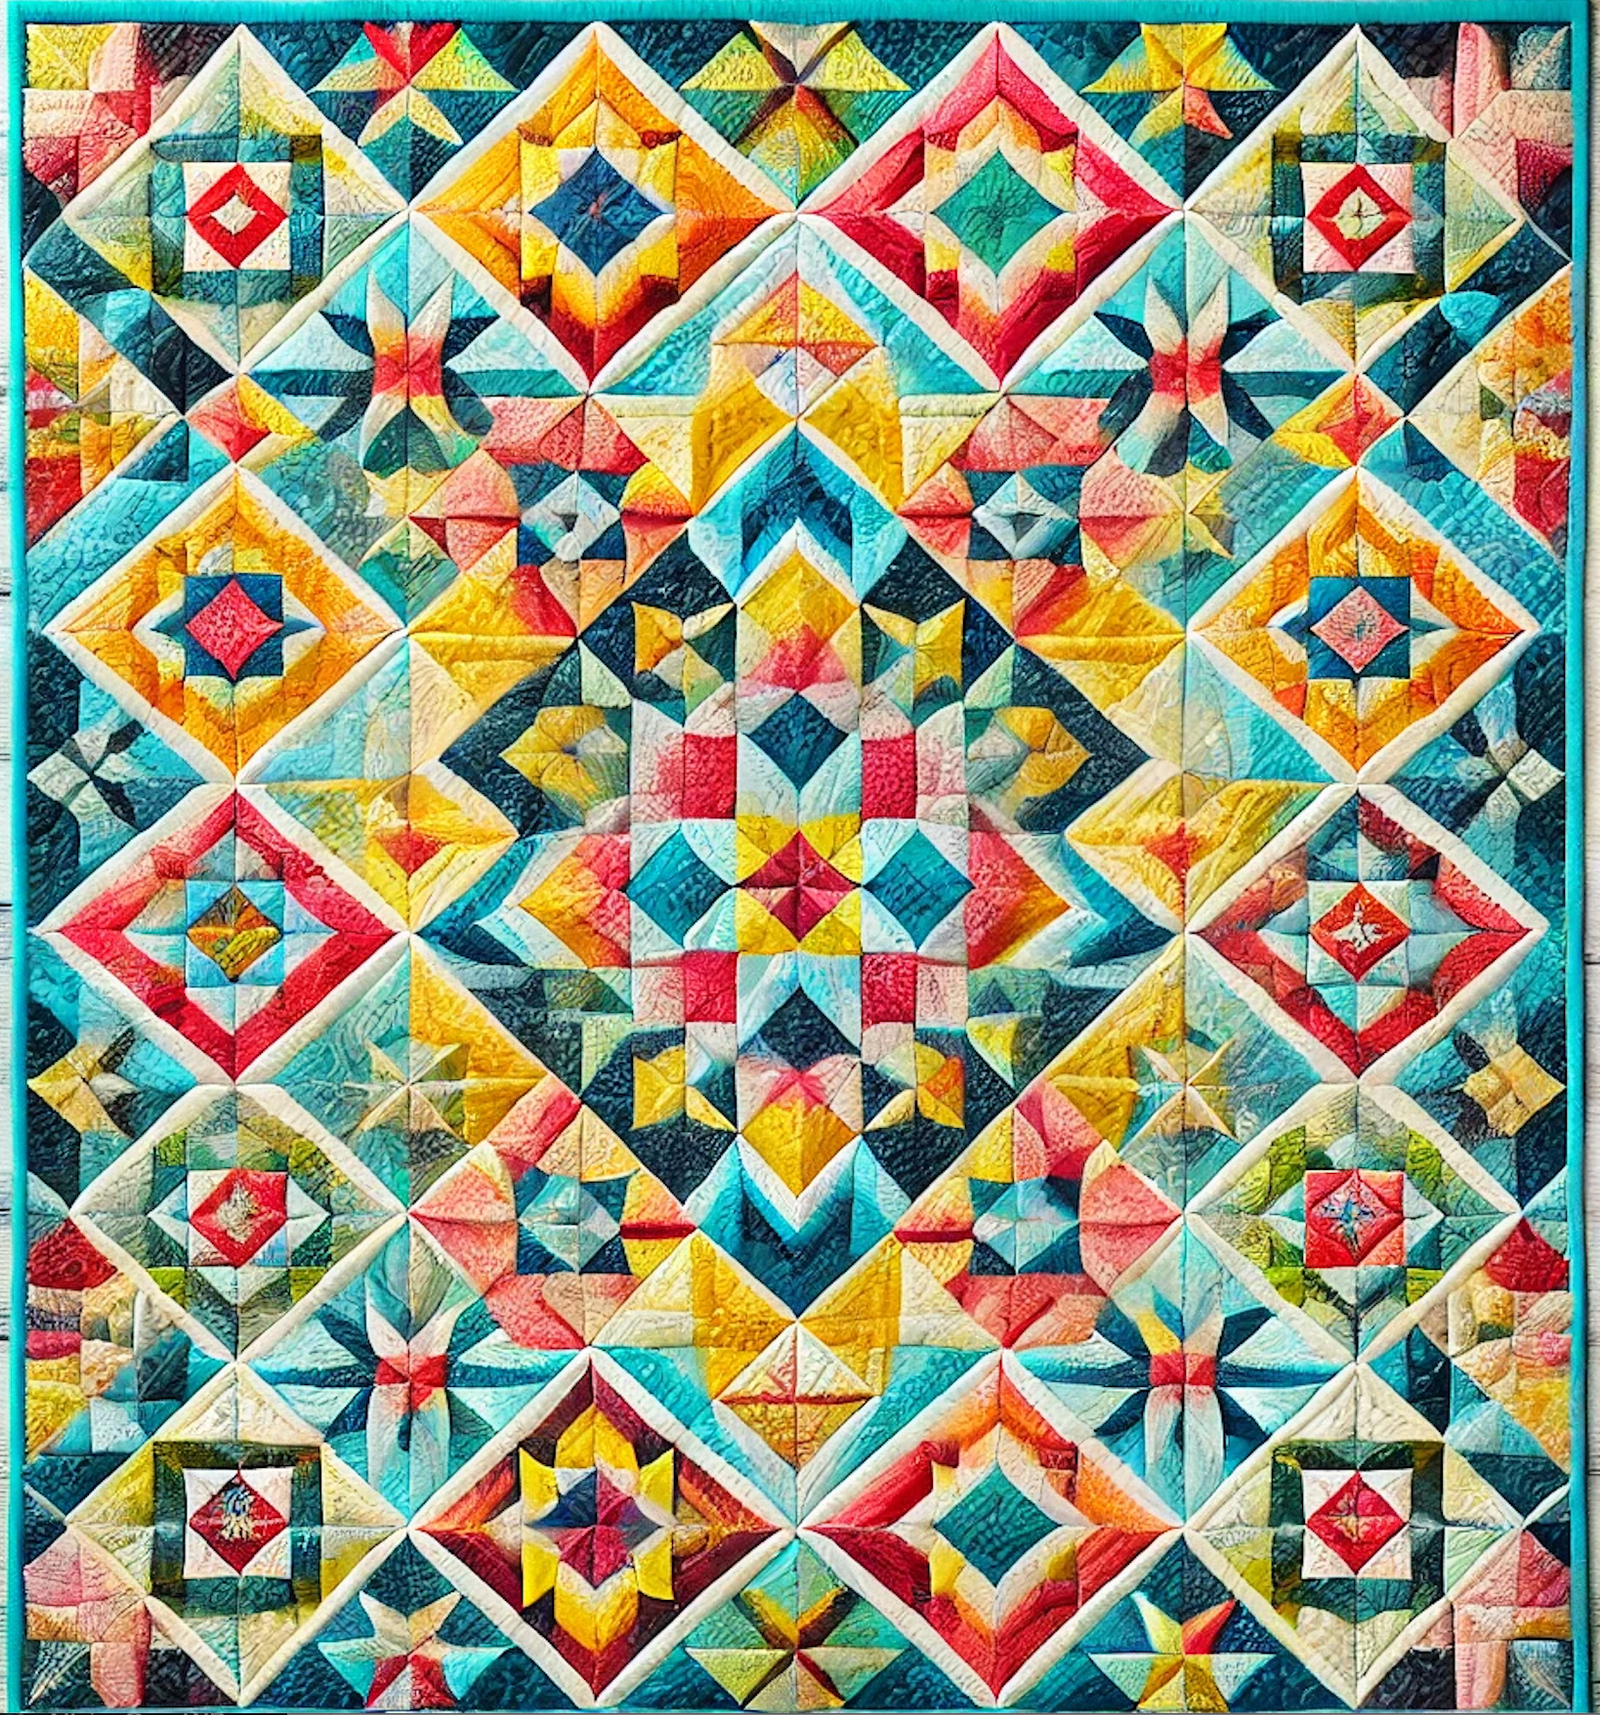
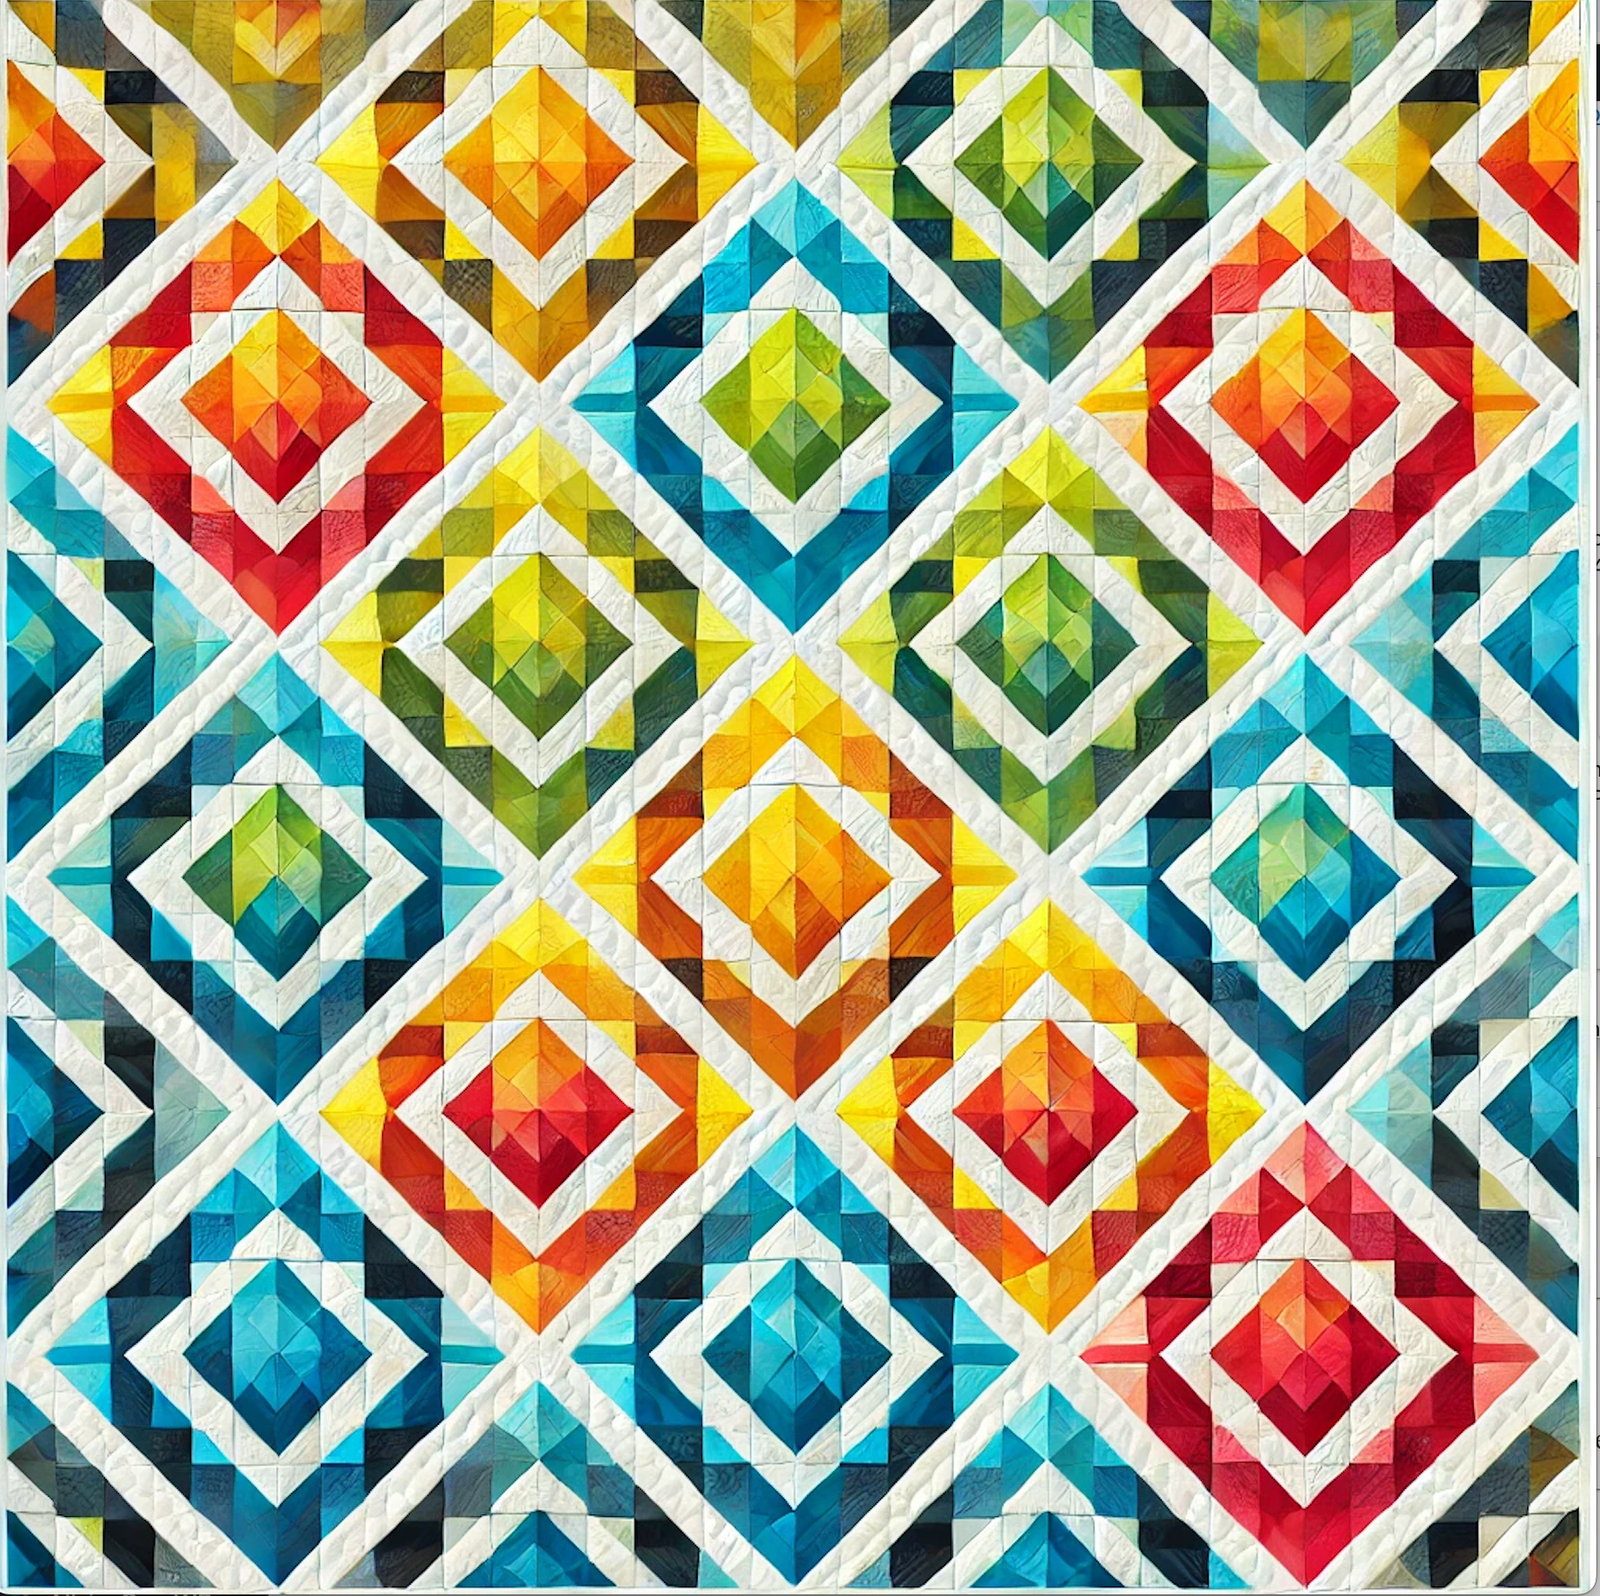
This quilt features large diamond shapes made of smaller triangles. The design is based on half-square triangles (HSTs), which are versatile and easy to assemble.
Cutting Instructions
- For the Diamonds:
- Cut squares of each colored fabric to 5 inches by 5 inches. (You can adjust the size based on your preferred quilt dimensions.)
- Cut an equal number of squares from the background fabric.
- For the Border (Optional):
- Cut strips of the background fabric to 2.5 inches wide for a clean edge around the quilt.
Making Half-Square Triangles (HSTs)
- Pair one colored square with one background square, right sides together.
- Draw a diagonal line from one corner to the opposite corner on the back of the lighter fabric (background fabric).
- Sew 1/4 inch on both sides of the diagonal line.
- Cut along the diagonal line to create two HST units.
- Press the seams open or to one side.
- Trim the HSTs to a uniform size (e.g., 4.5 inches square) using a quilting ruler.
Assembling the Quilt Top
- Lay out your HSTs to form diamond shapes:
- Arrange the triangles so that each color creates a large diamond, bordered by background fabric.
- Alternate the placement of colors for a dynamic, vibrant look.
- Once satisfied with the layout, sew the HSTs together row by row. Use a 1/4-inch seam allowance.
- Press the seams of each row in alternating directions to help them nest when joining rows.
- Sew the rows together, aligning the seams carefully.
Adding a Border (Optional)
- Sew the pre-cut border strips around the quilt top, starting with the sides and then the top and bottom.
Quilting
- Layer the quilt:
- Backing fabric (wrong side up).
- Batting.
- Quilt top (right side up).
- Baste the layers together using pins or spray adhesive.
- Quilt as desired:
- Straight-line quilting along the seams.
- Free-motion quilting for a more decorative touch.
Binding
- Cut 2.5-inch-wide strips of fabric for binding.
- Join the strips to create one continuous length.
- Fold the strip in half lengthwise and press.
- Attach the binding to the quilt edge using a 1/4-inch seam allowance, folding it over to the back and stitching it down.
Finishing
- Trim any excess batting and backing fabric.
- Press the quilt to smooth out wrinkles.
- Your vibrant diamond quilt is ready to use or display!
Layout Diagram
This guide assumes a 5×7 block layout (5 diamonds across, 7 rows down). Adjust based on your desired quilt size.
Key to Blocks
- C1, C2, C3, C4 = Colors (Yellow, Blue, Red, Green)
- BG = Background fabric
Row Layout Example
- Row 1: BG, C1-BG, BG, C2-BG, BG
- Row 2: C1-BG, BG, C2-BG, BG, C3-BG
- Row 3: BG, C2-BG, BG, C3-BG, BG
- Row 4: C2-BG, BG, C3-BG, BG, C4-BG
- Row 5: BG, C3-BG, BG, C4-BG, BG
- Row 6: C3-BG, BG, C4-BG, BG, C1-BG
- Row 7: BG, C4-BG, BG, C1-BG, BG
Assembly Notes
- HSTs Per Diamond:
- Each diamond requires 8 HSTs.
- 4 HSTs for the top half (color on one side, background on the other).
- 4 HSTs for the bottom half (reversed placement).
- Center Alignment:
- Ensure the meeting points of HSTs in each diamond are sharp and centered. Use pins or quilting clips to secure intersections before sewing.
- Sashing (Optional):
- Add strips of background fabric between rows or columns to create separation between the diamonds for a modern look.
Customization Tips
1. Adjusting Quilt Size
- To make it larger: Add more rows and columns. Each diamond is formed from 8 HSTs.
- To make it smaller: Reduce the number of diamonds or HSTs.
2. Gradient or Ombre Effect
- Arrange colors to transition from light to dark (e.g., start with yellow at the top and progress to blue, red, and green).
3. Unique Diamond Shapes
- Instead of uniform diamonds, mix in some with multiple colors (e.g., alternate two colors in a single diamond for added interest).
4. Border Designs
- Add a pieced border with leftover HSTs to echo the diamond pattern.
- Use a solid background for a minimalist finish.
5. Quilting Style
- Geometric: Quilt straight lines to enhance the sharpness of the diamonds.
- Free-motion: Add swirls, loops, or other patterns to contrast the geometry.


Comments are closed.